WHEN REMOVING THE defunct space heater from our Elddis project caravan, I noticed that the rooflight was leaking because the mastic had dried out. Although I was dripped on, it was lucky, because moisture entering a van of this age can lead to more problems later on with the framework and flooring inside.
By William Grant
Published: August 10, 2011
WHEN REMOVING THE defunct space heater from our Elddis project caravan, I noticed that the rooflight was leaking because the mastic had dried out. Although I was dripped on, it was lucky, because moisture entering a van of this age can lead to more problems later on with the framework and flooring inside.
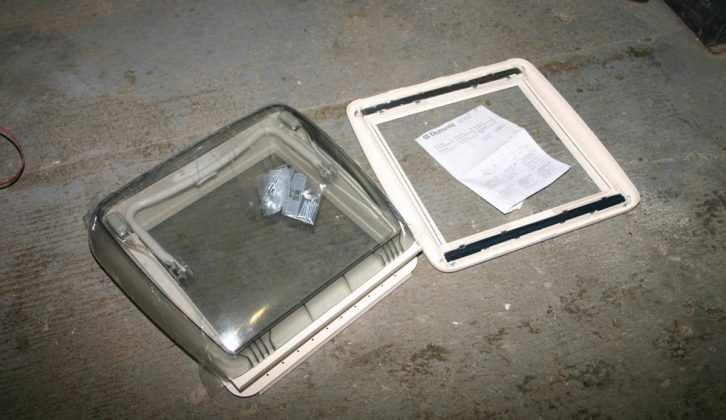
The unit itself had seen better days, so I set about removing it. I contacted Dometic and ordered a new Mini Heki Plus rooflight to replace the original. At £75, the new unit is not cheap, but its design means you’ll benefit from better ventilation and natural light. Thanks to V&G Caravans in Whittlesey (tel 01733 350 580)
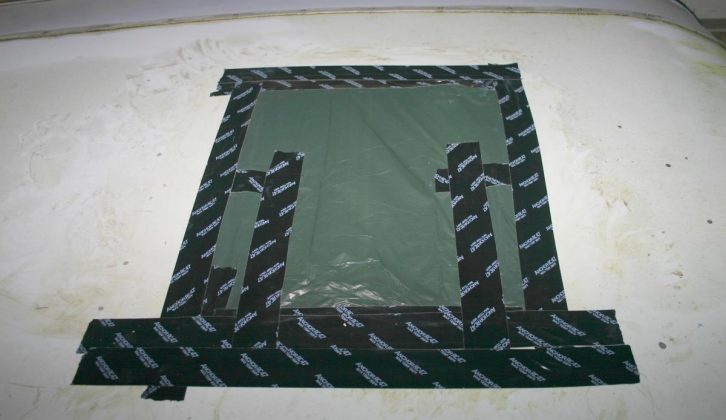
I covered the rooflight opening with a plastic bag stuck down with tape, which kept the worst of the elements out until the new rooflight arrived.
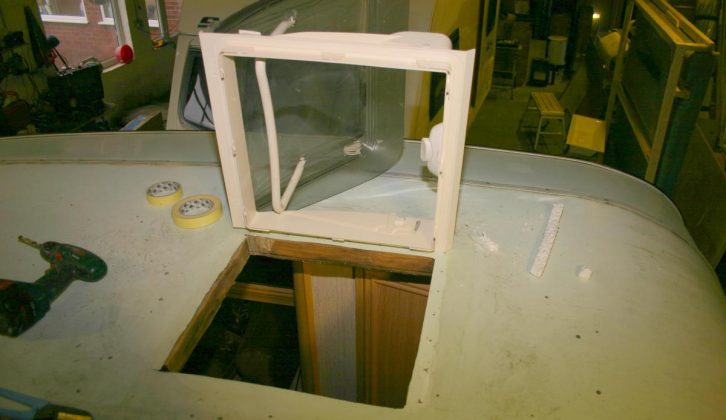
The opening was only 360mm x 360mm but the new rooflight was 400mm x 400mm. I cut a cardboard template to the new size and used it to mark the position where the ceiling would be cut.
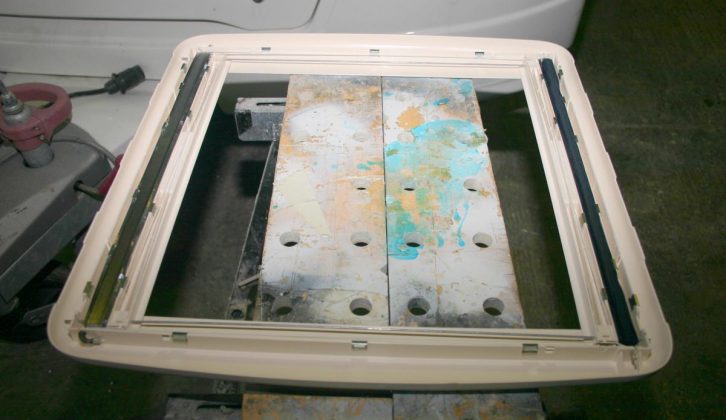
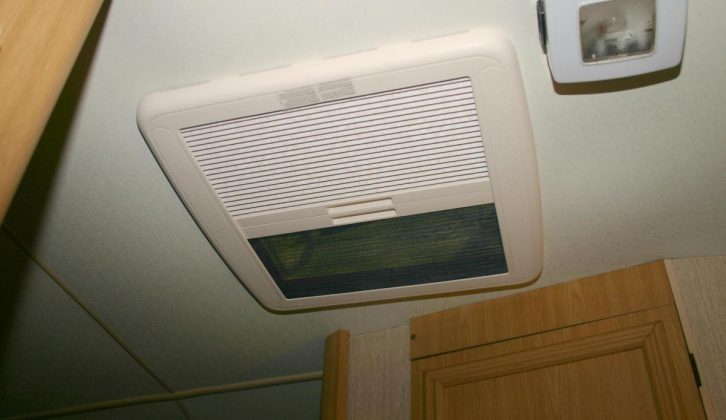
The replacement Mini Heki Plus‚ which came with all fitting instructions and parts‚ comprised the outer and inner frames as well as a night blind and flyscreen.
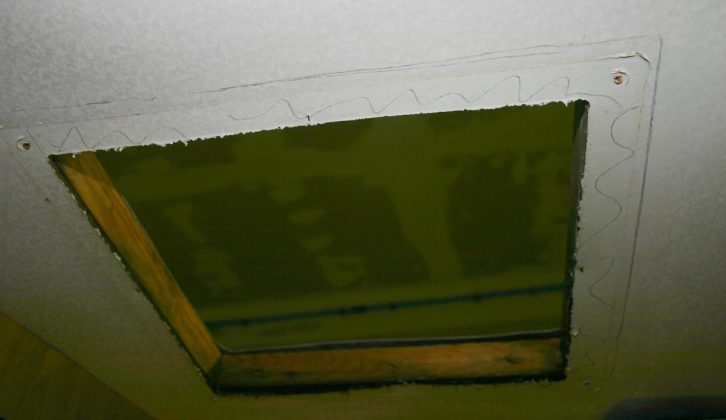
With the square marked out, I attached masking tape to prevent damaging the paintwork. I drilled two 3/8in holes for the jigsaw blade, and after enlarging the hole, used a powerfile to ease the frame into place .
Enlarging the hole meant cutting through two of the original framing timbers. I removed enough insulation to allow me to replace them, which would prevent the rooflight from compressing the roof when screwing it in.
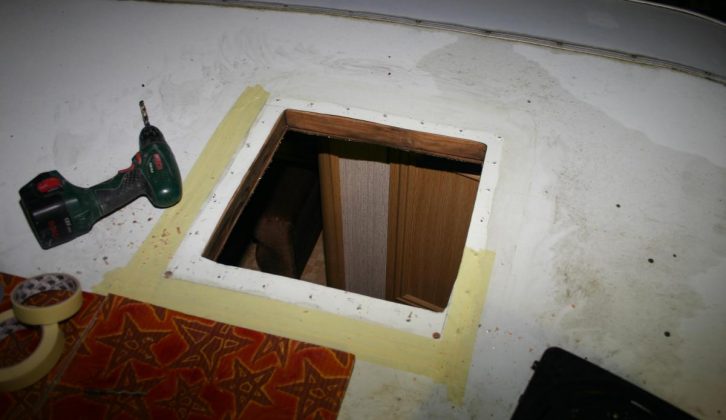
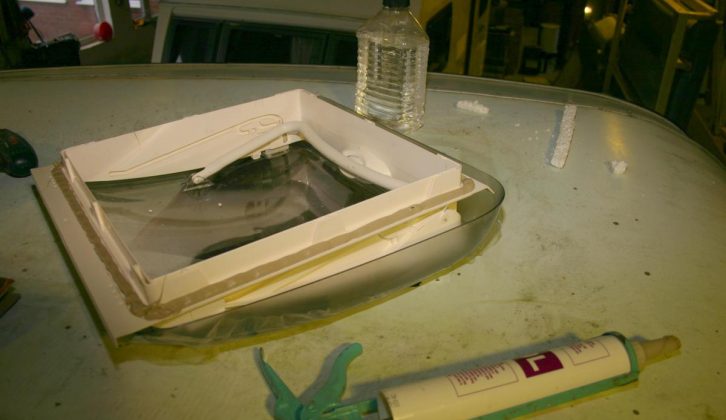
After removing the masking tape, I thoroughly cleaned the area around the enlarged hole with turpentine substitute before running non-setting bedding mastic around the underside of the outer frame.
I placed the outer frame through the hole and put the inner frame in place, securing it with the 12 screws included. I made sure to tighten them in a diametrically opposite manner to ensure an even pressure.
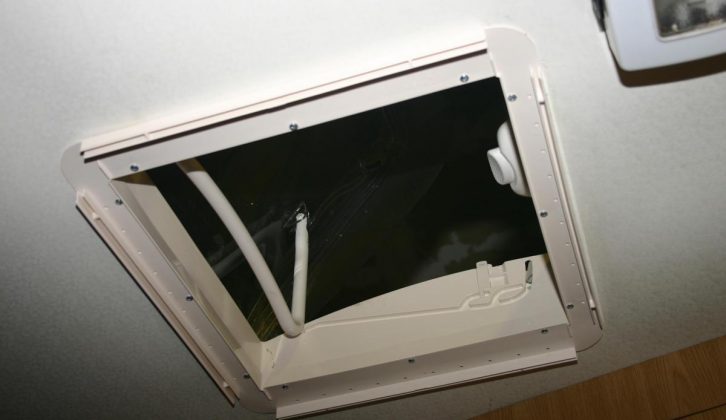
The final part of the assembly was to fit the barbed clips to the night blind and flyscreen frame. Following that, I pressed it onto the inner frame to complete the installation. Finally I wiped the surplus mastic off the roof.
The unit doesn’t just refresh the van’s interior. Its blinds and flyscreen are useful, too.